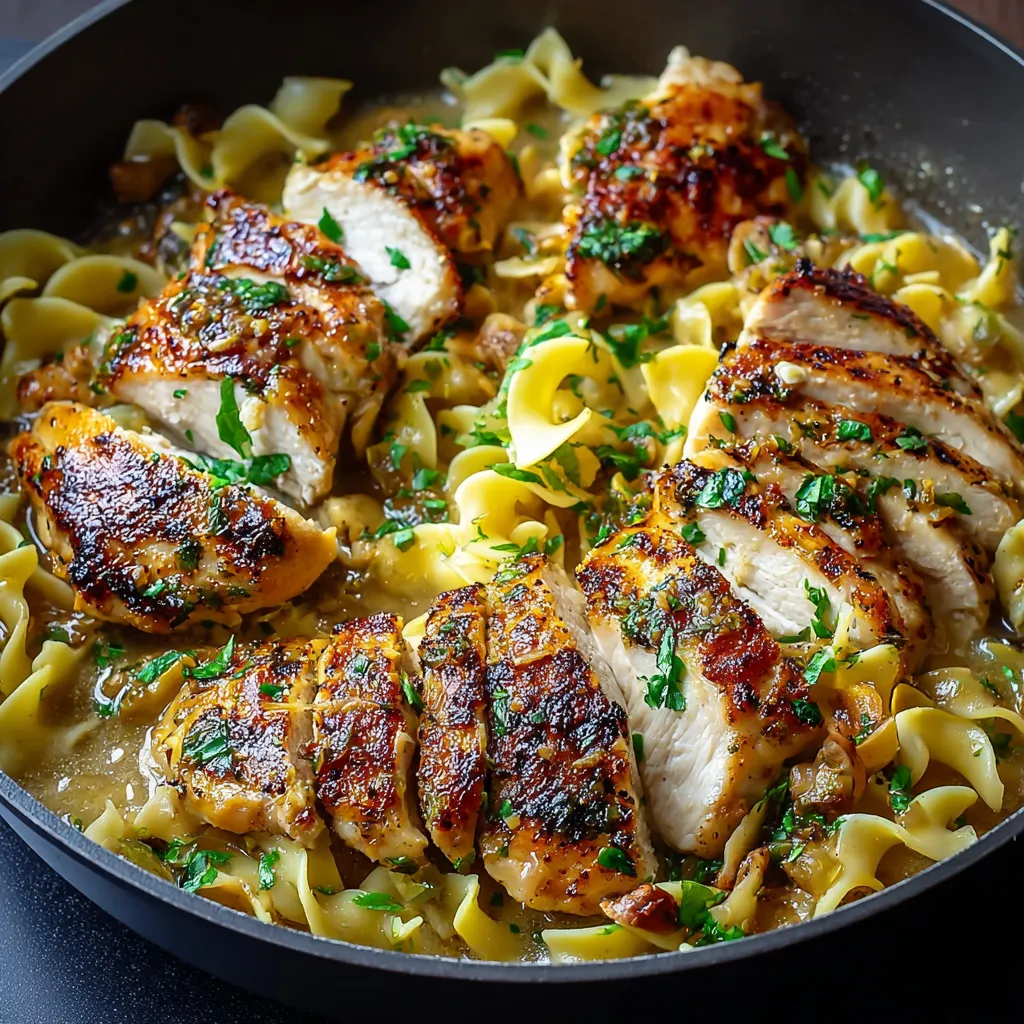
I still remember the first time I tried to make chicken cutlets – they were pale, soggy, and definitely not something to write home about! That’s why I’m so passionate about sharing this recipe for perfectly golden and ridiculously flavorful Crispy Parmesan Chicken. Trust me, this method is foolproof, and you’ll end up with chicken so delicious, even the pickiest eaters will be begging for seconds. Get ready to experience chicken perfection!
The Secret to Unforgettable Crispy Parmesan Chicken
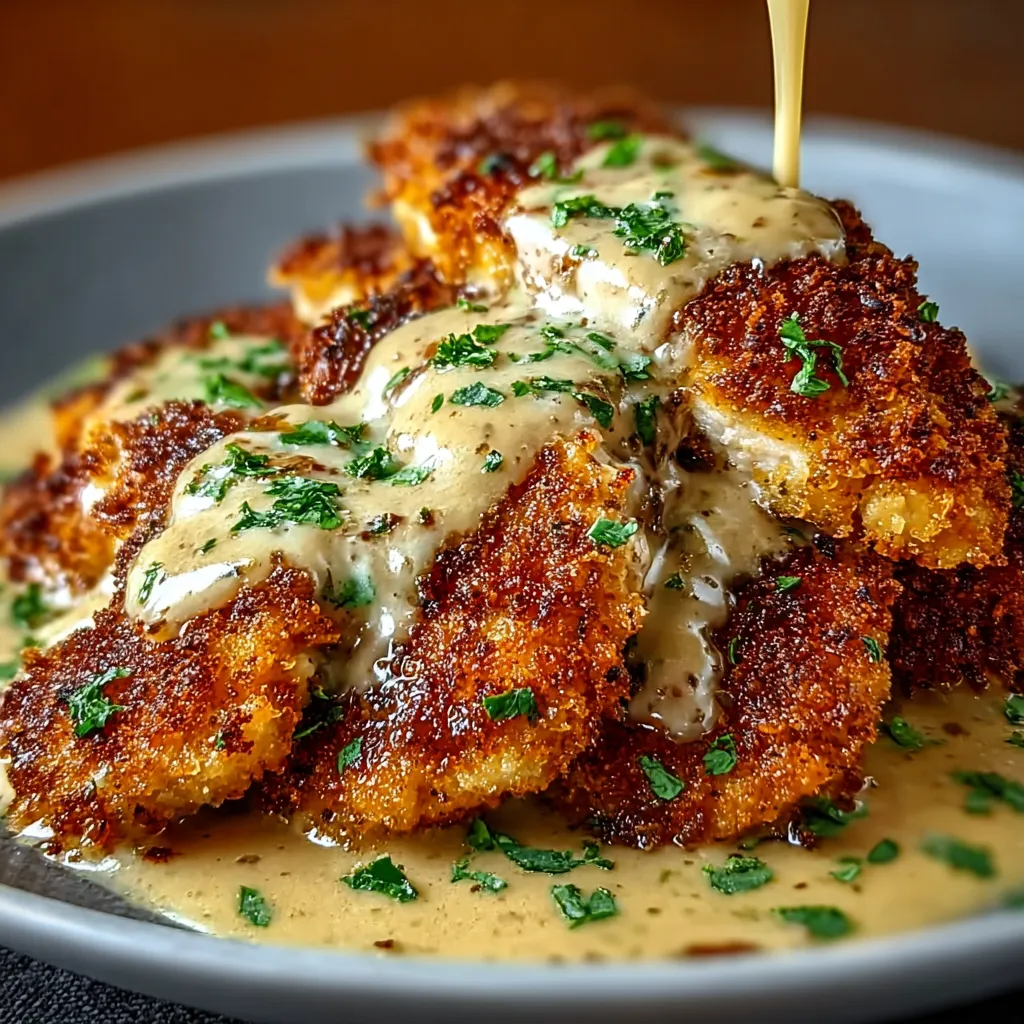
Okay, let’s be real. There are a million and one chicken recipes out there. So, what makes this Crispy Parmesan Chicken recipe so special? It’s all about the technique and the quality of ingredients. We’re talking maximum flavor, incredible texture, and a surprisingly simple process. I’m going to walk you through everything, step-by-step, so you can impress your family and friends (or just yourself!) with this amazing dish.
What Makes This Recipe Stand Out?
- Incredible Flavor: Parmesan cheese, garlic, and a blend of herbs create a savory and aromatic flavor profile that’s simply irresistible.
- Perfectly Crispy Texture: The breadcrumb coating is key, and we’ll talk about how to get it just right. No more soggy chicken!
- Easy to Make: Despite the impressive results, this recipe is surprisingly simple and straightforward.
- Versatile: Serve it as a main course, in sandwiches, on salads – the possibilities are endless!
- Family-Friendly: Even the pickiest eaters will love this crispy, cheesy chicken.
Gather Your Ingredients: The Crispy Parmesan Chicken Checklist
Before we get started, let’s make sure you have everything you need. Quality ingredients are essential for achieving the best flavor and texture.
- Chicken Breasts: Boneless, skinless chicken breasts are ideal. About 1.5-2 pounds is a good starting point for a family of four.
- Grated Parmesan Cheese: Freshly grated Parmesan is always best for flavor.
- Breadcrumbs: Panko breadcrumbs are my go-to for maximum crispiness. They’re lighter and airier than regular breadcrumbs. You can also use Italian breadcrumbs for a more seasoned flavor.
- All-Purpose Flour: This helps the egg wash adhere to the chicken.
- Eggs: A couple of large eggs, beaten, will act as the binder for the breadcrumb coating.
- Garlic Powder: Adds a savory depth of flavor.
- Italian Seasoning: A blend of dried herbs that complements the Parmesan cheese perfectly.
- Salt and Black Pepper: To taste, of course!
- Olive Oil (or Cooking Spray): For cooking the chicken.
- Optional: Fresh parsley, lemon wedges for serving.
Step-by-Step Guide to Crispy Parmesan Chicken Perfection
Alright, let’s get cooking! Follow these steps carefully, and you’ll be enjoying crispy, cheesy chicken in no time.
Step 1: Prep the Chicken
First things first, we need to prep the chicken breasts. This involves a little bit of “tenderizing” to ensure even cooking and a more delicate texture.
- Pound the Chicken: Place each chicken breast between two sheets of plastic wrap or in a resealable bag. Use a meat mallet or rolling pin to pound the chicken to an even thickness of about 1/2 inch. This ensures that the chicken cooks evenly and quickly. Don’t skip this step!
- Season the Chicken: Season the chicken breasts generously with salt, pepper, garlic powder, and a pinch of Italian seasoning. This will infuse the chicken with flavor from the inside out.
Step 2: Prepare the Breading Station
Now for the fun part – setting up the breading station! This is where we’ll create the crispy coating that makes this chicken so irresistible.
- Three Bowls: Set up three shallow bowls or dishes.
- Bowl 1: All-purpose flour
- Bowl 2: Beaten eggs
- Bowl 3: Panko breadcrumbs, grated Parmesan cheese, Italian seasoning, salt, and pepper. Mix well to combine. I usually go for a 2:1 ratio of breadcrumbs to Parmesan.
- The Order Matters: The key is to bread the chicken in the correct order. This ensures that the breadcrumbs adhere properly and create a crispy coating.
Step 3: Bread the Chicken
Time to get your hands a little dirty! This is where the magic happens.
- Dredge in Flour: Dredge each chicken breast in the flour, making sure to coat it evenly on both sides. Shake off any excess flour. This helps the egg wash stick.
- Dip in Egg: Dip the floured chicken breast into the beaten eggs, making sure it’s fully coated. Let any excess egg drip off.
- Coat in Breadcrumbs: Finally, dredge the chicken breast in the breadcrumb mixture, pressing gently to ensure that the breadcrumbs adhere to the chicken. Make sure the entire surface is covered.
- Repeat: Repeat the breading process with the remaining chicken breasts.
Step 4: Cook the Chicken
Now that the chicken is breaded, it’s time to cook it to golden-brown perfection.
- Heat the Oil: Heat a thin layer of olive oil (about 2-3 tablespoons) in a large skillet over medium heat. You want the oil to be hot enough to sizzle when you add the chicken, but not so hot that it burns the breadcrumbs.
- Cook the Chicken: Carefully place the breaded chicken breasts in the hot skillet, being careful not to overcrowd the pan. Cook for about 5-7 minutes per side, or until the chicken is cooked through and the breadcrumbs are golden brown and crispy. The internal temperature of the chicken should reach 165°F (74°C).
- Don’t Rush: Avoid the temptation to crank up the heat to speed things up. Cooking the chicken over medium heat ensures that it cooks evenly and the breadcrumbs don’t burn.
- Optional: Bake Option: If you prefer to bake the chicken, preheat your oven to 400°F (200°C). Place the breaded chicken breasts on a baking sheet lined with parchment paper and bake for about 20-25 minutes, or until the chicken is cooked through and the breadcrumbs are golden brown. Spraying the breaded chicken with cooking oil prior to baking helps with browning.
Step 5: Serve and Enjoy!
Congratulations! You’ve just made the most amazing Crispy Parmesan Chicken. Now it’s time to serve it up and enjoy the fruits of your labor.
- Rest the Chicken: Before serving, let the chicken rest for a few minutes on a wire rack to allow the juices to redistribute. This will help keep the chicken moist and tender.
- Garnish: Garnish with fresh parsley and serve with lemon wedges for a burst of freshness.
- Serving Suggestions: This Crispy Parmesan Chicken is incredibly versatile. Serve it as a main course with your favorite sides, such as roasted vegetables, mashed potatoes, or a simple salad. You can also use it to make chicken sandwiches, chicken Parmesan, or add it to pasta dishes.
Tips and Tricks for Crispy Parmesan Chicken Success
Want to take your Crispy Parmesan Chicken to the next level? Here are a few extra tips and tricks to ensure perfect results every time.
- Use High-Quality Parmesan: Freshly grated Parmesan cheese makes a huge difference in flavor. Avoid the pre-grated stuff in the green can.
- Don’t Overcrowd the Pan: Cooking the chicken in batches prevents the oil temperature from dropping and ensures even cooking.
- Pat the Chicken Dry: Before breading, pat the chicken breasts dry with paper towels. This helps the flour adhere better.
- Double Breading: For an extra-crispy coating, you can double bread the chicken. Simply repeat the breading process (flour, egg, breadcrumbs) twice.
- Add Flavor to the Breadcrumbs: Get creative with your breadcrumb mixture! Try adding a pinch of red pepper flakes for a little heat, or some dried herbs like oregano or thyme for extra flavor.
- Use a Meat Thermometer: The best way to ensure that the chicken is cooked through is to use a meat thermometer. Insert the thermometer into the thickest part of the chicken breast. When it reaches 165°F (74°C), the chicken is done.
Variations and Adaptations: Make It Your Own!
The beauty of this recipe is that it’s so easy to customize. Here are a few ideas to get you started:
- Spicy Crispy Parmesan Chicken: Add a pinch of red pepper flakes to the breadcrumb mixture for a little heat.
- Lemon Herb Crispy Parmesan Chicken: Add lemon zest and dried herbs like oregano and thyme to the breadcrumb mixture.
- Gluten-Free Crispy Parmesan Chicken: Use gluten-free breadcrumbs and gluten-free all-purpose flour.
- Air Fryer Crispy Parmesan Chicken: Preheat your air fryer to 375°F (190°C). Place the breaded chicken breasts in the air fryer basket and cook for about 12-15 minutes, or until the chicken is cooked through and the breadcrumbs are golden brown.
Serving Suggestions: Complete the Meal
Now that you’ve got your Crispy Parmesan Chicken, let’s talk about some delicious sides to complete the meal. This chicken pairs well with so many different dishes.
- Pasta: Serve it over Garlic Parmesan Spaghetti for a comforting and satisfying meal. Or, try it with a creamy tomato sauce for a classic Chicken Parmesan experience.
- Salads: A simple green salad with a vinaigrette dressing is a great way to balance the richness of the chicken.
- Roasted Vegetables: Roasted broccoli, asparagus, or Brussels sprouts are all delicious and healthy options.
- Mashed Potatoes: Creamy mashed potatoes are always a crowd-pleaser.
- Sandwiches: Slice the Crispy Parmesan Chicken and serve it on toasted rolls with your favorite toppings.
Other Chicken Recipes You’ll Love
If you enjoyed this Crispy Parmesan Chicken recipe, you might also like these other delicious chicken dishes:
- Bang Bang Chicken: A spicy and flavorful dish with a creamy sauce.
- Creamy Low Carb Chicken Casserole: A comforting and healthy casserole that’s perfect for a weeknight meal.
- Marry Me Chicken Pasta: A rich and decadent pasta dish that’s sure to impress.
Troubleshooting: Common Crispy Parmesan Chicken Problems and Solutions
Sometimes, things don’t go exactly as planned in the kitchen. Here are a few common problems you might encounter when making Crispy Parmesan Chicken, and how to fix them:
- Soggy Chicken:
- Problem: The chicken isn’t crispy enough.
- Solution: Make sure the oil is hot enough before adding the chicken. Don’t overcrowd the pan. Pat the chicken dry before breading. You can also try double breading the chicken for an extra-crispy coating.
- Burnt Breadcrumbs:
- Problem: The breadcrumbs are burning before the chicken is cooked through.
- Solution: Reduce the heat to medium-low. Cook the chicken slower and longer. You can also tent the skillet with foil to prevent the breadcrumbs from burning.
- Dry Chicken:
- Problem: The chicken is dry and overcooked.
- Solution: Don’t overcook the chicken. Use a meat thermometer to ensure that it reaches an internal temperature of 165°F (74°C). Pounding the chicken to an even thickness also helps prevent it from drying out.
- Breadcrumbs Not Sticking:
- Problem: The breadcrumbs are falling off the chicken.
- Solution: Make sure you’re following the breading process correctly (flour, egg, breadcrumbs). Pat the chicken dry before breading. Press the breadcrumbs firmly onto the chicken.
Enjoy Your Homemade Crispy Parmesan Chicken!
There you have it – my ultimate guide to making the best Crispy Parmesan Chicken ever! I hope you enjoy this recipe as much as I do. It’s a guaranteed crowd-pleaser, and it’s perfect for any occasion. Don’t be afraid to experiment with different flavors and variations to make it your own. Happy cooking!
What makes this Crispy Parmesan Chicken recipe different from other chicken recipes?
This recipe focuses on technique and quality ingredients for maximum flavor and crispy texture, while remaining surprisingly simple to make. It uses a specific breading process and benefits from freshly grated Parmesan and panko breadcrumbs.
What are the key ingredients for making Crispy Parmesan Chicken?
The key ingredients are boneless, skinless chicken breasts, freshly grated Parmesan cheese, panko breadcrumbs, all-purpose flour, eggs, garlic powder, Italian seasoning, salt, pepper, and olive oil (or cooking spray).
What is the best way to ensure the chicken is cooked through?
The best way to ensure the chicken is cooked through is to use a meat thermometer. Insert it into the thickest part of the chicken breast, and when it reaches 165°F (74°C), the chicken is done.
What can I do if my breadcrumbs are burning before the chicken is cooked through?
Reduce the heat to medium-low and cook the chicken slower and longer. You can also tent the skillet with foil to prevent the breadcrumbs from burning.
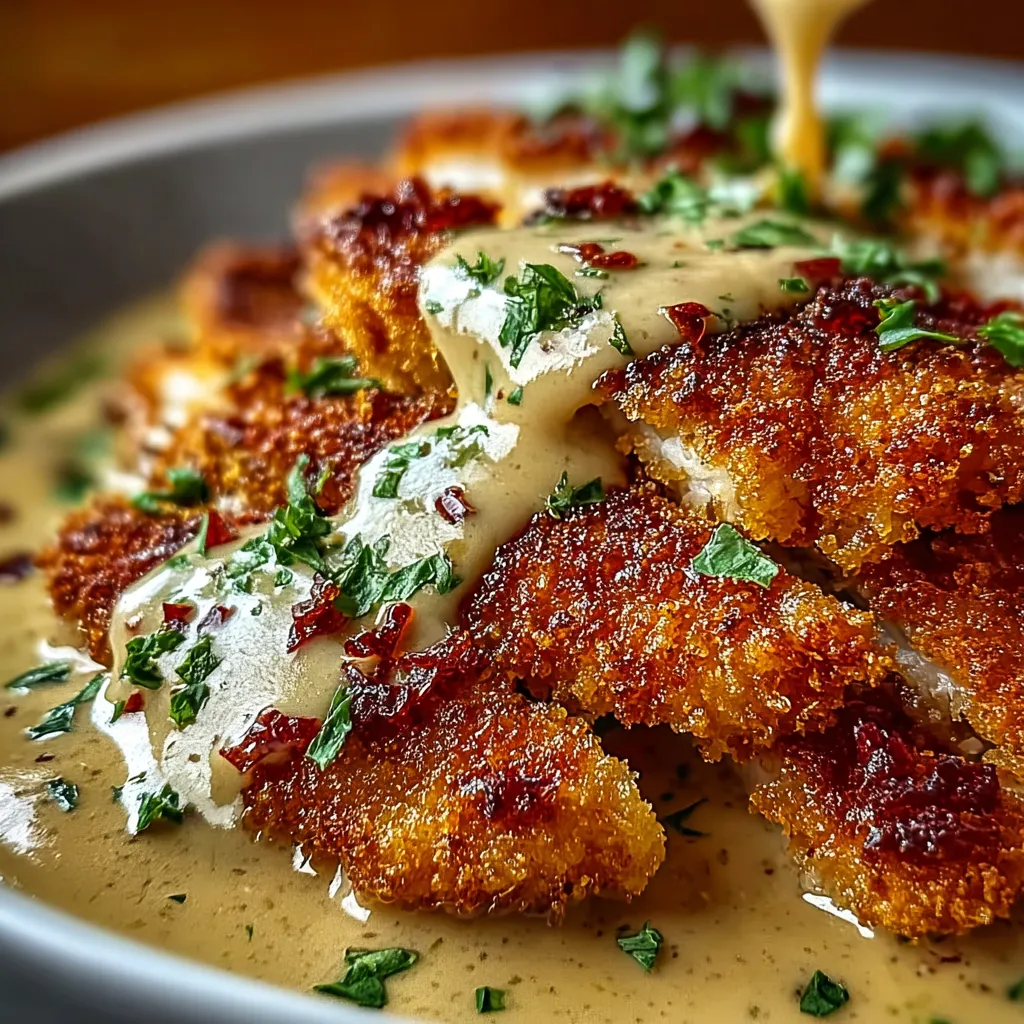
Crispy Parmesan Chicken
Ingredients
Equipment
Method
- Place each chicken breast between two sheets of plastic wrap or in a resealable bag.
- Use a meat mallet or rolling pin to pound the chicken to an even thickness of about 1/2 inch.
- Season the chicken breasts generously with salt, pepper, garlic powder, and a pinch of Italian seasoning.
- Set up three shallow bowls: one with flour, one with beaten eggs, and one with panko breadcrumbs, grated Parmesan cheese, Italian seasoning, salt, and pepper (mixed well, 2:1 ratio of breadcrumbs to Parmesan).
- Dredge each chicken breast in the flour, shaking off any excess.
- Dip the floured chicken breast into the beaten eggs, letting any excess drip off.
- Dredge the chicken breast in the breadcrumb mixture, pressing gently to ensure it adheres to the chicken.
- Heat a thin layer of olive oil (about 2-3 tablespoons) in a large skillet over medium heat.
- Carefully place the breaded chicken breasts in the hot skillet, being careful not to overcrowd the pan.
- Cook for about 5-7 minutes per side, or until the chicken is cooked through and the breadcrumbs are golden brown and crispy. The internal temperature of the chicken should reach 165°F (74°C).
- If baking, preheat oven to 400°F (200°C). Place breaded chicken on a baking sheet lined with parchment paper.
- Bake for 20-25 minutes, or until chicken is cooked through and breadcrumbs are golden brown.
- Let the chicken rest for a few minutes on a wire rack before serving.
- Garnish with fresh parsley and serve with lemon wedges.

