Unlocking the Flavor Puzzle: Dill Pickle Parmesan Chicken
 The quest for the ultimate Dill Pickle Parmesan Chicken isn’t just about throwing ingredients together; it’s about understanding how those ingredients interact on a molecular level to create a symphony of flavor. Think of it as a culinary equation: acidity + umami + fat = deliciousness. The dill pickle brine provides the acidity, cutting through the richness of the parmesan and chicken. Parmesan, of course, delivers the umami, that savory depth that keeps you coming back for more. And the fat, whether from the parmesan itself or added oil, ensures a satisfying mouthfeel and helps to carry the flavors. Without this balance, you risk a dish that’s either too sour, too bland, or just plain greasy. Understanding this principle is key, and it’s something to keep in mind when preparing other dishes too. For example, the principles are similar when working with Garlic Parmesan Spaghetti. The garlic, like the dill pickle brine, cuts through the richness of the parmesan and pasta.
The Recipe: Dill Pickle Parmesan Chicken Perfection
Ingredients:
- 4 boneless, skinless chicken breasts (about 6 oz each)
- 1 cup dill pickle brine (from your favorite jar of dill pickles)
- 1/2 cup grated Parmesan cheese
- 1/4 cup panko breadcrumbs
- 2 tablespoons olive oil
- 1 teaspoon garlic powder
- 1/2 teaspoon onion powder
- 1/4 teaspoon black pepper
- 1/4 teaspoon smoked paprika (optional, but recommended!)
- Fresh dill, chopped (for garnish)
Instructions:
- Brine the Chicken: Place the chicken breasts in a zip-top bag or a shallow dish. Pour the dill pickle brine over the chicken, ensuring it’s fully submerged. Marinate in the refrigerator for at least 30 minutes, or up to 4 hours. (Longer marinating times will result in more intense pickle flavor, but avoid going over 4 hours, as the acid can start to break down the chicken too much).
- Prepare the Parmesan Coating: In a shallow dish, combine the grated Parmesan cheese, panko breadcrumbs, garlic powder, onion powder, black pepper, and smoked paprika (if using). Mix well to ensure even distribution of the spices.
- Coat the Chicken: Remove the chicken breasts from the brine and pat them dry with paper towels. This step is crucial! Excess moisture will prevent the Parmesan coating from adhering properly. Dredge each chicken breast in the Parmesan mixture, pressing firmly to ensure the coating sticks. Make sure to coat both sides evenly.
- Cook the Chicken: Heat the olive oil in a large skillet over medium heat. Once the oil is hot, carefully place the coated chicken breasts in the skillet, being careful not to overcrowd the pan. Cook for 5-7 minutes per side, or until the chicken is cooked through and the Parmesan coating is golden brown and crispy. The internal temperature of the chicken should reach 165°F (74°C).
- Rest and Serve: Remove the cooked chicken breasts from the skillet and let them rest for 5 minutes before slicing. This allows the juices to redistribute, resulting in a more tender and flavorful chicken. Garnish with fresh chopped dill and serve immediately.
The Dill Pickle Dive: My Investigation
The Initial Plunge: Pickle Juice Panic
My first few attempts were a disaster. I initially thought, like many of you, that simply dipping the chicken in pickle juice and then the Parmesan mixture would be enough. The result? A soggy, unevenly coated mess that tasted overwhelmingly of vinegar and sadness. The Parmesan wouldn’t stick, and the chicken was both raw inside and burnt on the outside. A total failure. It felt like a distant cry from the deliciousness of Oven-baked Crispy Parmesan Chicken.Brine Time Breakthrough: A Salty Revelation
Then, I had an “Aha!” moment. I realized the importance of a proper brine. The pickle brine isn’t just about adding flavor; it’s about tenderizing the chicken. The acid in the brine breaks down the proteins, resulting in a more moist and flavorful final product. I experimented with different brining times, starting with 30 minutes and going up to 4 hours. I found that 30 minutes was the minimum for noticeable improvement, while 4 hours was the sweet spot – enough time for the flavor to penetrate without making the chicken mushy.Coating Catastrophe Averted: Panko to the Rescue
The next challenge was the coating. Straight Parmesan cheese, while delicious, tended to burn easily and didn’t provide enough crunch. That’s where panko breadcrumbs came in. The coarser texture of panko created a beautiful, crispy crust that complemented the tangy chicken perfectly. I also discovered the importance of patting the chicken dry after brining. Excess moisture is the enemy of a crispy coating.Spice is Nice: Flavor Enhancements
Finally, I realized the recipe needed a little extra something. Garlic powder and onion powder added depth and complexity, while a touch of smoked paprika provided a subtle smoky note that elevated the dish to a whole new level. Fresh dill, as a garnish, added a burst of freshness that balanced the richness of the Parmesan and the tang of the pickle. In a pinch, I’ve used this approach with Crispy Parmesan Chicken and it works there too!The Technique: Dill Pickle Parmesan Chicken – A Foolproof Method
- Brine strategically: Marinate chicken breasts in dill pickle brine for 30 minutes to 4 hours for optimal flavor and tenderness.
- Dry thoroughly: Pat the chicken breasts completely dry with paper towels after brining to ensure the Parmesan coating adheres properly.
- Panko power: Combine grated Parmesan cheese with panko breadcrumbs for a crispy and flavorful coating.
- Season smartly: Enhance the flavor with garlic powder, onion powder, black pepper, and a touch of smoked paprika.
- Cook carefully: Cook the chicken in a hot skillet over medium heat for even browning and thorough cooking.
- Rest responsibly: Let the cooked chicken rest for 5 minutes before slicing to allow the juices to redistribute.
- Garnish generously: Top with fresh chopped dill for a burst of freshness and flavor.
Why is it important to brine the chicken in dill pickle brine?
The dill pickle brine tenderizes the chicken and infuses it with flavor. The acid in the brine breaks down the proteins, resulting in a more moist and flavorful final product.
Why is it important to pat the chicken dry after brining?
Patting the chicken dry after brining is crucial because excess moisture prevents the Parmesan coating from adhering properly, ensuring a crispy crust.
What is the ideal brining time for the chicken?
The ideal brining time is between 30 minutes and 4 hours. 30 minutes is the minimum for noticeable improvement, while 4 hours allows for optimal flavor penetration without making the chicken mushy.
What makes the Parmesan coating crispy?
The addition of panko breadcrumbs to the Parmesan cheese creates a coarser texture that results in a beautiful, crispy crust.
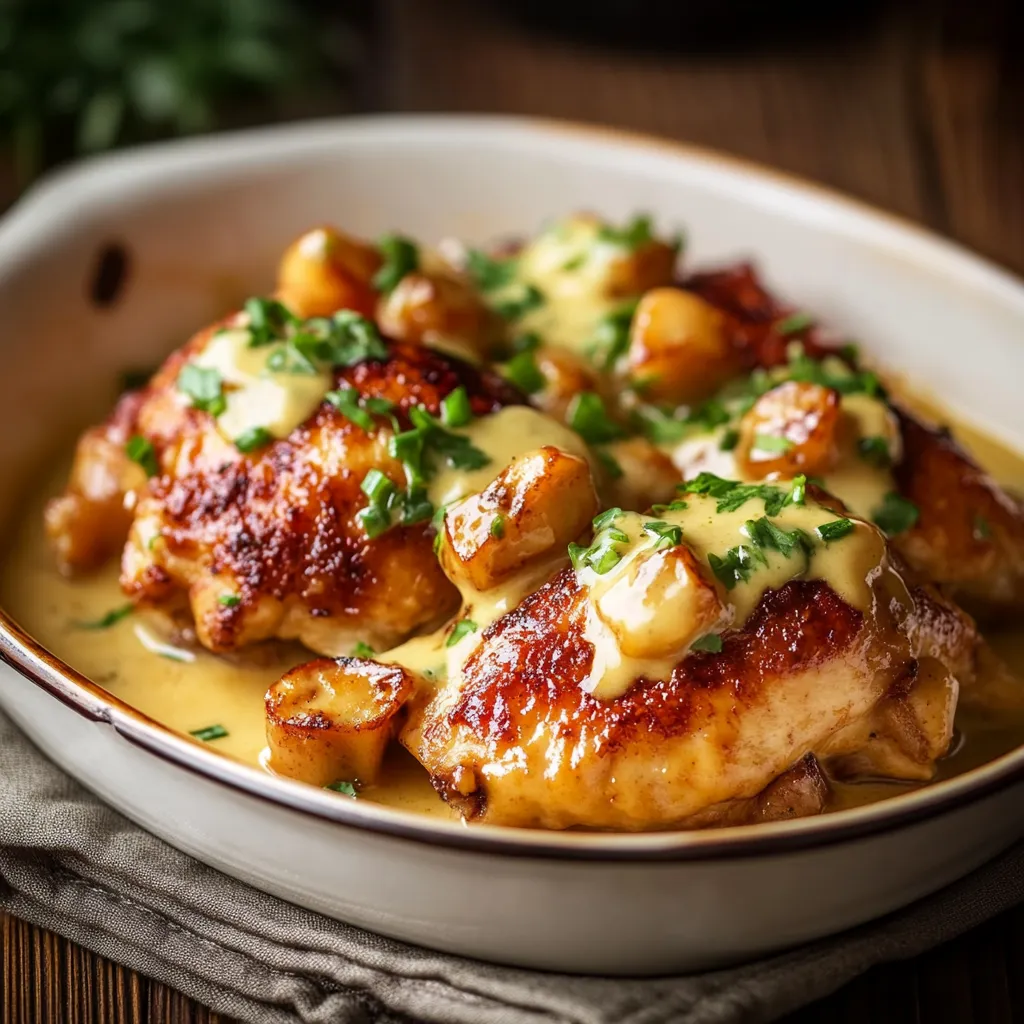
Dill Pickle Parmesan Chicken
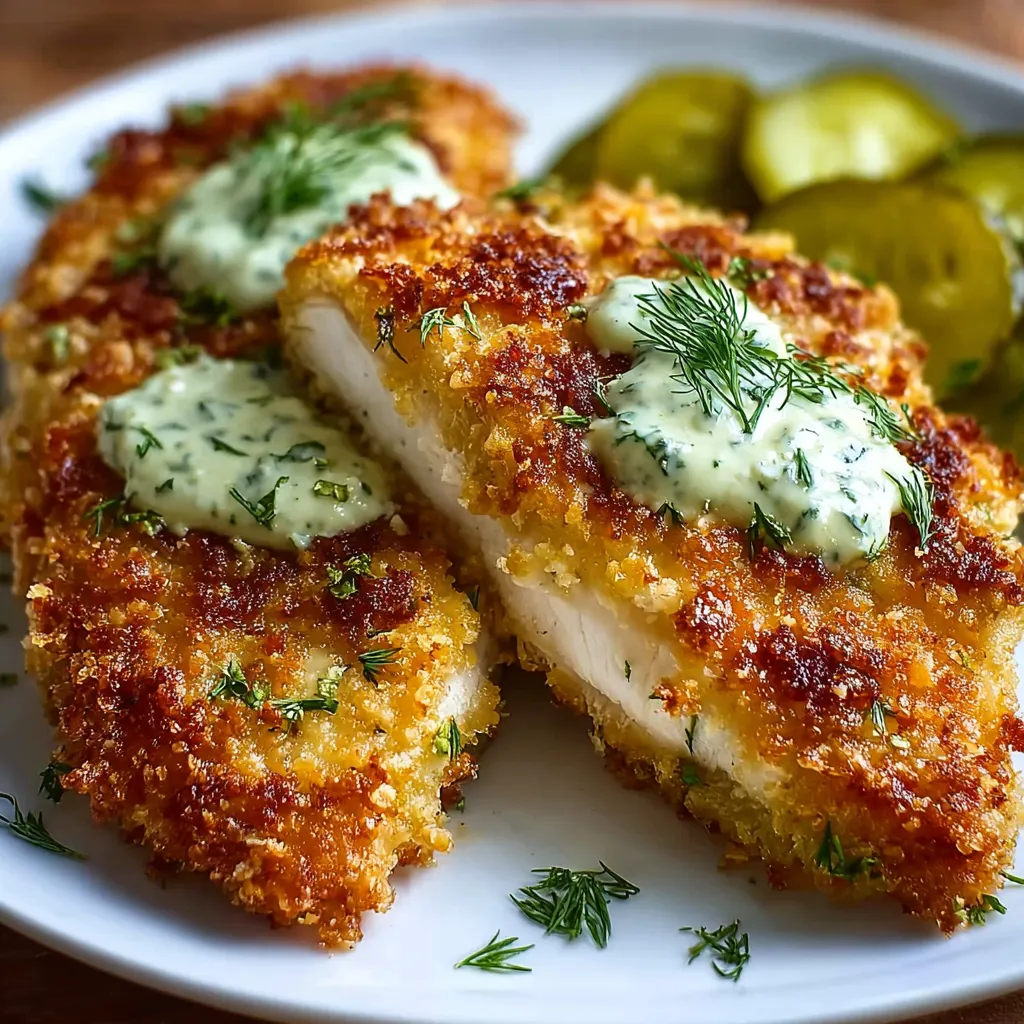
This recipe transforms ordinary chicken breasts into a flavorful dish with a tangy twist. By brining the chicken in dill pickle juice and coating it with a crispy Parmesan and panko mixture, this dish offers a balance of acidity, umami, and satisfying textures.
Ingredients
Equipment
Method
- Brine the Chicken: Place the chicken breasts in a zip-top bag or a shallow dish. Pour the dill pickle brine over the chicken, ensuring it’s fully submerged. Marinate in the refrigerator for at least 30 minutes, or up to 4 hours.
- Prepare the Parmesan Coating: In a shallow dish, combine the grated Parmesan cheese, panko breadcrumbs, garlic powder, onion powder, black pepper, and smoked paprika (if using). Mix well to ensure even distribution of the spices.
- Coat the Chicken: Remove the chicken breasts from the brine and pat them dry with paper towels. Dredge each chicken breast in the Parmesan mixture, pressing firmly to ensure the coating sticks. Make sure to coat both sides evenly.
- Cook the Chicken: Heat the olive oil in a large skillet over medium heat. Once the oil is hot, carefully place the coated chicken breasts in the skillet, being careful not to overcrowd the pan. Cook for 5-7 minutes per side, or until the chicken is cooked through and the Parmesan coating is golden brown and crispy. The internal temperature of the chicken should reach 165°F (74°C).
- Rest and Serve: Remove the cooked chicken breasts from the skillet and let them rest for 5 minutes before slicing. Garnish with fresh chopped dill and serve immediately.
Notes
For a more intense pickle flavor, marinate the chicken for up to 4 hours. Patting the chicken dry after brining is crucial for a crispy coating. Store leftovers in an airtight container in the refrigerator for up to 3 days. For extra crispy chicken, bake in the oven at 400F for 20-25 minutes.