I still remember the sizzle and pop of kielbasa hitting the grill at our family’s annual summer picnic, the smoky aroma mingling with the sweet scent of honeysuckle, promising an evening of laughter and good company; that’s the feeling I want to capture with my recipe for Grilled Kielbasa Sandwiches. We’re talking about a simple yet satisfying meal that’s perfect for a quick weeknight dinner or a casual weekend gathering. By the end of this, you’ll have a recipe and all the tips and tricks you need to make mouthwatering kielbasa sandwiches every single time!
The Allure of Kielbasa: More Than Just Sausage

Okay, friend, let’s talk kielbasa. It’s more than just a sausage; it’s a cultural icon, a flavor bomb, and a blank canvas all rolled into one. Whether it’s Polish, Ukrainian, or another regional variation, the smoky, garlicky goodness of kielbasa is undeniably appealing. But why is it so perfect for grilling and sandwiches? Well, its natural casing crisps up beautifully on the grill, giving it that satisfying snap, and the robust flavor stands up perfectly to all sorts of toppings and condiments.
Choosing Your Kielbasa Wisely
Not all kielbasa is created equal, so here’s the lowdown on selecting the best one for your Grilled Kielbasa Sandwiches:
- Look for Quality: Opt for kielbasa made with natural casings and high-quality cuts of meat. Read the ingredient list; you want to see recognizable ingredients like pork, beef, garlic, and spices. Avoid brands with excessive fillers or artificial additives.
- Consider the Type: There are different types of kielbasa, including fresh, smoked, and cooked. For grilling, I recommend using pre-cooked or smoked kielbasa. It’s already infused with that smoky flavor and requires less cooking time on the grill. Fresh kielbasa will work too, but you’ll need to ensure it’s cooked through completely.
- Check the Date: Always check the expiration or “use by” date to ensure freshness.
Building the Perfect Grilled Kielbasa Sandwich: A Step-by-Step Guide
Alright, let’s get down to business. Here’s my foolproof method for creating Grilled Kielbasa Sandwiches that will have everyone singing your praises.
Ingredients You’ll Need:
- Kielbasa: About 1-1.5 pounds, pre-cooked or smoked.
- Buns: Hoagie rolls, Kaiser rolls, or your favorite sandwich buns.
- Toppings: This is where you can get creative! Think sauerkraut, caramelized onions, bell peppers, mustard, ketchup, relish, cheese (more on this later!), hot sauce, or anything else that makes your taste buds tingle.
- Oil: Olive oil or vegetable oil for grilling.
- Optional Seasonings: Garlic powder, onion powder, paprika, black pepper.
Step 1: Prep the Kielbasa
Before you even think about firing up the grill, take a few minutes to prep your kielbasa. This step is crucial for even cooking and maximum flavor.
- Score the Kielbasa: Use a sharp knife to make shallow diagonal cuts along the length of the kielbasa on both sides. This prevents it from bursting on the grill and allows the smoky flavor to penetrate deeper.
- Lightly Oil: Brush the kielbasa with a little olive oil or vegetable oil. This will help it get those beautiful grill marks and prevent it from sticking.
- Season (Optional): If you want to amp up the flavor, sprinkle the kielbasa with a little garlic powder, onion powder, paprika, and black pepper.
Step 2: Get That Grill Going!
Now for the fun part: grilling! Whether you’re using a gas grill or a charcoal grill, the key is to maintain a medium heat (around 350-400°F or 175-200°C).
- Preheat the Grill: Make sure your grill is nice and hot before you start cooking. This will help create those beautiful grill marks and prevent the kielbasa from sticking.
- Grill the Kielbasa: Place the kielbasa on the grill grates and cook for about 8-10 minutes, turning occasionally, until it’s heated through and has those gorgeous grill marks. Remember, since you’re using pre-cooked or smoked kielbasa, you’re primarily aiming to heat it through and add some smoky flavor.
- Warm the Buns (Optional): While the kielbasa is grilling, you can lightly toast the buns on the grill for a minute or two. This will give them a nice crispy texture and prevent them from getting soggy. Watch them closely – they can burn quickly!
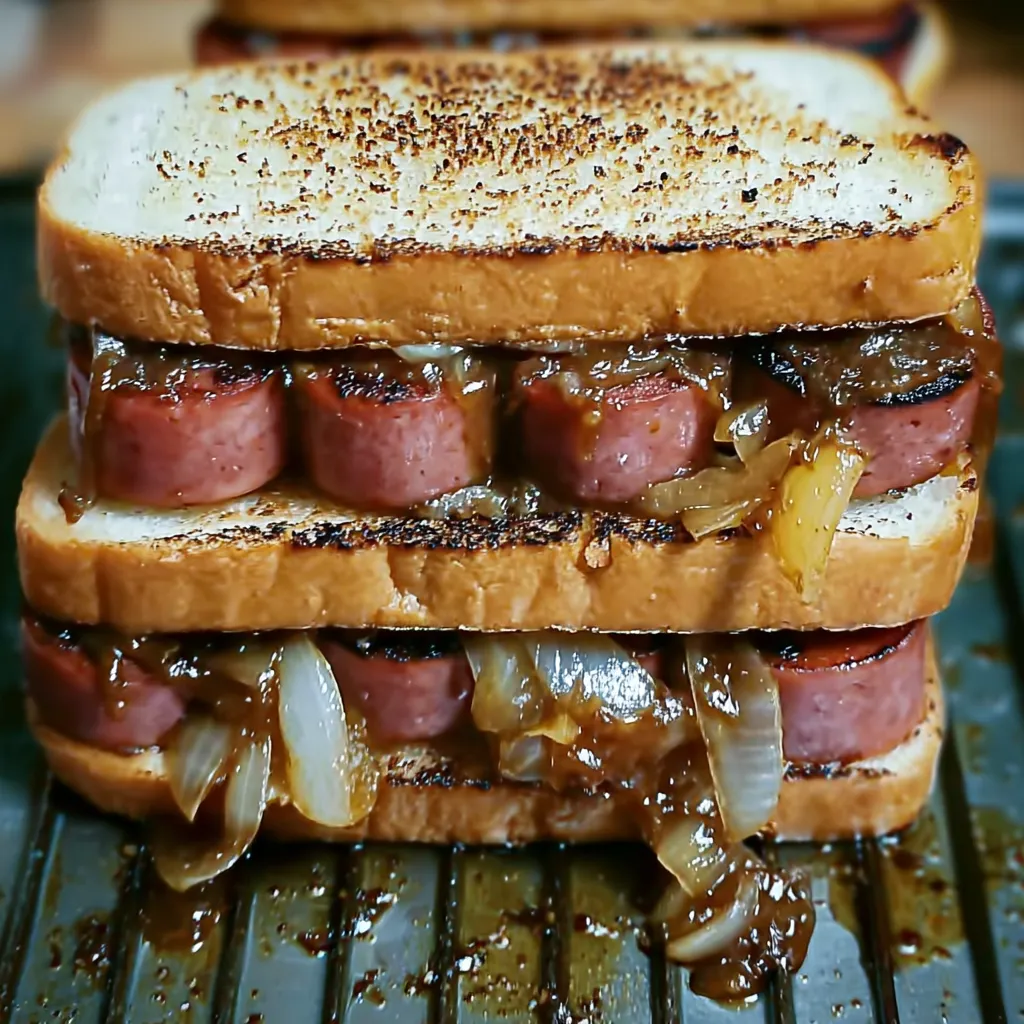
Step 3: Assemble Your Masterpiece
This is where your creativity shines! It’s time to build your Grilled Kielbasa Sandwiches with all your favorite toppings.
- Spread the Sauce: Start by spreading your favorite sauce or condiment on the buns. Mustard, ketchup, relish, or even a spicy mayo are all great options.
- Load Up the Toppings: Pile on your favorite toppings. Sauerkraut and caramelized onions are a classic pairing, but don’t be afraid to experiment with other options like bell peppers, jalapeños, or even a scoop of Cajun Honey Garlic Sausage & Rice.
- Add the Kielbasa: Place the grilled kielbasa on top of the toppings.
- Cheese, Please! (Optional): If you’re a cheese lover (and who isn’t?), add a slice or two of your favorite cheese on top of the kielbasa. Provolone, Swiss, cheddar, or even a creamy Havarti would all be delicious. You can even pop the assembled sandwich back on the grill for a minute or two to melt the cheese.
- Top it Off: Finish with the top bun and get ready to devour!
Topping Ideas That Will Blow Your Mind
Let’s face it, the toppings are what truly elevate a Grilled Kielbasa Sandwich from good to extraordinary. Here are some of my favorite combinations to inspire you:
- The Classic: Sauerkraut, mustard, and Swiss cheese. This is a timeless combination that never disappoints. The tangy sauerkraut, sharp mustard, and nutty Swiss cheese create a flavor explosion that perfectly complements the smoky kielbasa.
- The Spicy: Jalapeños, pepper jack cheese, and a drizzle of sriracha mayo. If you like a little heat, this is the sandwich for you. The jalapeños and pepper jack cheese provide a fiery kick, while the sriracha mayo adds a touch of sweetness and creaminess.
- The Sweet and Savory: Caramelized onions, crumbled bacon, and a balsamic glaze. This combination is all about balance. The sweet caramelized onions, salty bacon, and tangy balsamic glaze create a complex and satisfying flavor profile.
- The Mediterranean: Roasted red peppers, feta cheese, and a dollop of tzatziki sauce. This sandwich is light, fresh, and packed with flavor. The roasted red peppers add a touch of sweetness, the feta cheese provides a salty tang, and the tzatziki sauce adds a cool and creamy element.
- The “Everything But the Kitchen Sink”: Grilled peppers and onions (think Philly Cheesesteak Roll Ups filling), your favorite BBQ sauce, and a sprinkle of cheddar cheese. This is for those days when you just want it all!
Tips and Tricks for Grilled Kielbasa Sandwich Perfection
Alright, now that you have the basics down, let’s dive into some insider tips and tricks that will take your Grilled Kielbasa Sandwiches to the next level.
- Don’t Overcook: Overcooked kielbasa can become dry and rubbery. The key is to heat it through until it’s warmed, but still juicy.
- Use a Grill Basket: If you’re grilling smaller toppings like sliced onions or bell peppers, consider using a grill basket to prevent them from falling through the grates.
- Get Creative with the Buns: Don’t be afraid to experiment with different types of buns. Pretzel rolls, brioche buns, or even sourdough rolls can add a unique flavor and texture to your sandwich.
- Make it a Meal: Serve your Grilled Kielbasa Sandwiches with a side of coleslaw, potato salad, or some grilled vegetables for a complete and satisfying meal. Maybe even some Sheet Pan Sausage Veggies
- Prep Ahead: You can prep many of the components of these sandwiches ahead of time. Caramelize the onions, chop the vegetables, and even grill the kielbasa in advance. Then, when it’s time to eat, simply assemble the sandwiches and enjoy!
- Dealing with flare-ups: Kielbasa, especially if it’s a bit fatty, can cause flare-ups on the grill. Keep a spray bottle of water handy to quickly extinguish any flames. Alternatively, move the kielbasa to a cooler part of the grill temporarily.
- Consider a panini press: For a truly melty and delicious experience, try pressing your assembled kielbasa sandwich in a panini press for a few minutes. This will flatten the sandwich, melt the cheese, and create a crispy, golden-brown crust. Think of it as a grown-up Cheesy Meatball Sub, but with kielbasa!
Kielbasa Beyond the Bun: Other Delicious Ideas
While Grilled Kielbasa Sandwiches are undeniably amazing, kielbasa is incredibly versatile and can be used in a variety of other dishes. Here are a few ideas to get your creative juices flowing:
- Kielbasa and Pierogies: A classic Polish combination that’s hearty and satisfying. Simply sauté the kielbasa with onions and serve it alongside boiled or fried pierogies.
- Kielbasa and Cabbage: Another traditional dish that’s packed with flavor. Sauté the kielbasa with cabbage, carrots, and onions for a simple yet delicious meal.
- Kielbasa Skewers: Thread chunks of kielbasa onto skewers with vegetables like bell peppers, onions, and zucchini for a fun and flavorful appetizer or main course.
- Kielbasa Frittata: Add diced kielbasa to a frittata or quiche for a protein-packed breakfast or brunch.
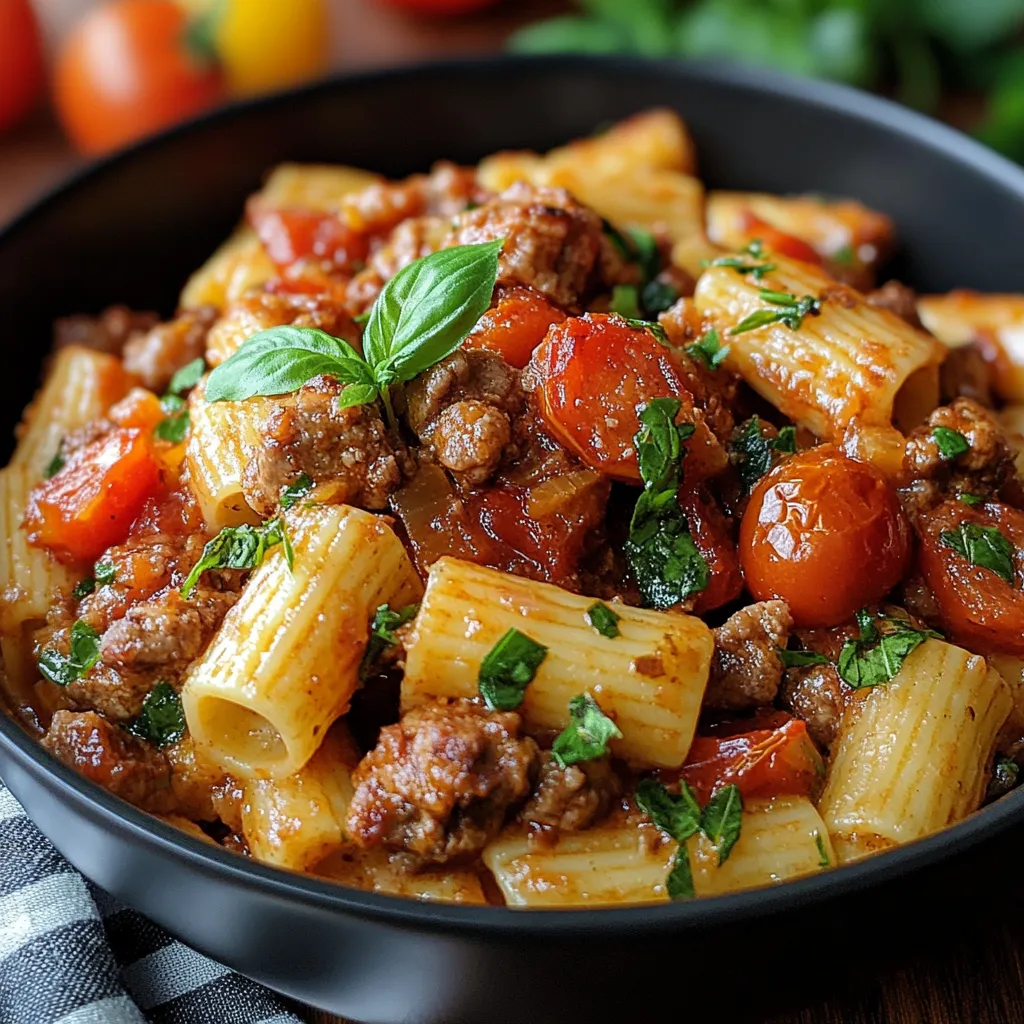
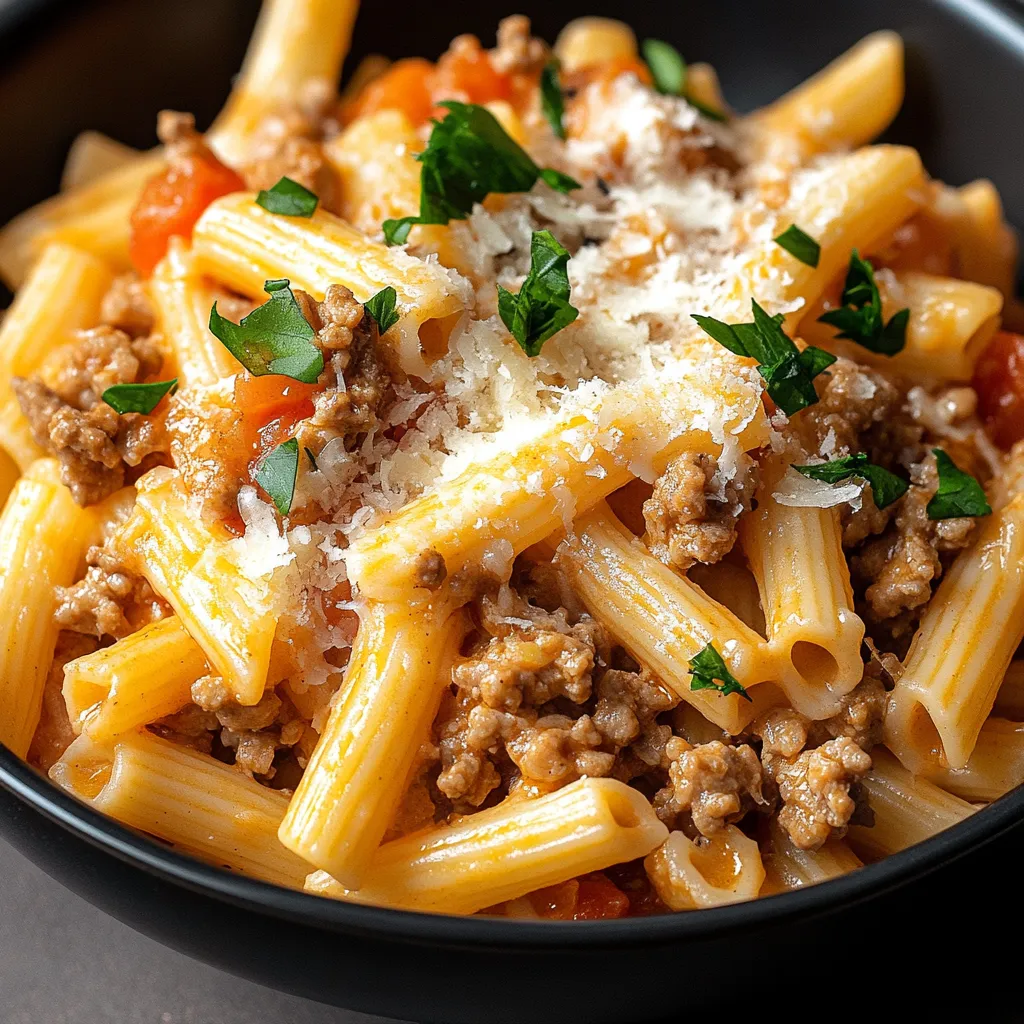
- Kielbasa Pasta: Slice or dice kielbasa and add it to your favorite pasta sauce for a hearty and flavorful meal. This works especially well with tomato-based sauces or creamy sauces like alfredo. It’s a great alternative if you’re looking for something different than Philly Cheesesteak Pasta.
Grilled Kielbasa Sandwiches: Your New Go-To Meal
So there you have it: everything you need to create mouthwatering Grilled Kielbasa Sandwiches that will impress your family and friends. Remember, the key is to use high-quality kielbasa, don’t overcook it, and get creative with your toppings. With a little practice and experimentation, you’ll be a kielbasa sandwich master in no time. Now, go fire up that grill and get cooking!
What kind of kielbasa is best for grilling in these sandwiches?
Pre-cooked or smoked kielbasa is recommended for grilling as it is already infused with smoky flavor and requires less cooking time. Fresh kielbasa can also be used, but needs to be cooked through completely.
How do I prevent the kielbasa from bursting while grilling?
Score the kielbasa by making shallow diagonal cuts along its length on both sides. This prevents bursting and allows the smoky flavor to penetrate deeper.
What are some topping ideas for my grilled kielbasa sandwich?
The article suggests a variety of toppings including sauerkraut, caramelized onions, bell peppers, jalapeños, pepper jack cheese, mustard, ketchup, relish, sriracha mayo, crumbled bacon, balsamic glaze, roasted red peppers, feta cheese, and tzatziki sauce. You can also use your favorite BBQ sauce and cheddar cheese.
How do I avoid flare-ups on the grill when cooking kielbasa?
Keep a spray bottle of water handy to quickly extinguish any flames. Alternatively, move the kielbasa to a cooler part of the grill temporarily.
Grilled Kielbasa Sandwiches
Ingredients
Equipment
Method
- Score the kielbasa: Use a sharp knife to make shallow diagonal cuts along the length of the kielbasa on both sides.
- Lightly Oil: Brush the kielbasa with olive oil or vegetable oil.
- Season (Optional): Sprinkle the kielbasa with garlic powder, onion powder, paprika, and black pepper.
- Preheat the grill to medium heat (around 350-400°F or 175-200°C).
- Grill the Kielbasa: Place the kielbasa on the grill grates and cook for about 8-10 minutes, turning occasionally, until it’s heated through and has grill marks.
- Warm the Buns (Optional): Lightly toast the buns on the grill for a minute or two.
- Spread the Sauce: Spread your favorite sauce or condiment on the buns (mustard, ketchup, relish, or spicy mayo).
- Load Up the Toppings: Pile on your favorite toppings (sauerkraut, caramelized onions, bell peppers, jalapeños).
- Add the Kielbasa: Place the grilled kielbasa on top of the toppings.
- Cheese, Please! (Optional): Add a slice or two of your favorite cheese on top of the kielbasa.
- Top it Off: Finish with the top bun and serve immediately.